Azure Cognitive Services are a group of cloud-based APIs and SDKs created to help developers build intelligent applications without having specific machine learning or data science skills. Azure Cognitive Services’ features are broken down into five main API categories:
- Vision API
- Speech API
- Language API
- Decision API
- Search API
In this blog post we are going to build a basic face detection application that uses the Face service(which is part of the Vision API) to identify faces in images. The Face service provides developers access to advanced facial detection algorithms enabling face attribute detection and recognition.
Prerequisites
- Azure Subscription
- Any Python 3x version
- Flask Web Framework
- Visual Studio Code or another IDE of your choice
Set up your local environment
- Verify you have Python installed. Open a terminal and enter the following command
python --version
If Python is installed, this will return a the Python version number
ex.python 3.8.2 - In the terminal, run the following command to install the Cognitive Services Face library
pip install --upgrade azure-cognitiveservices-vision-face
When this command has run successfully, you will receive a similar output:Successfully installed azure-cognitiveservices-vision-face-0.4.1 - In the terminal run the following command to install Pillow, a Python Imaging Library. We will use Pillow to draw rectangles around the faces the Face service identifies.
python -m pip install Pillow
When this command has run successfully, you will receive a similar output:Successfully installed Pillow-8.0.1
Create a Cognitive Services Face Resource in Azure
- Login to the Azure Portal
- Browse to the Azure Marketplace and search for Face
- Click Create and Face on the Face tile

- Fill out the Create Face blade.
Create a new Resource Group
Select a Region
Enter a name for your instance. This will also be the custom domain for your instance
For this demo, we will use the Free pricing tier
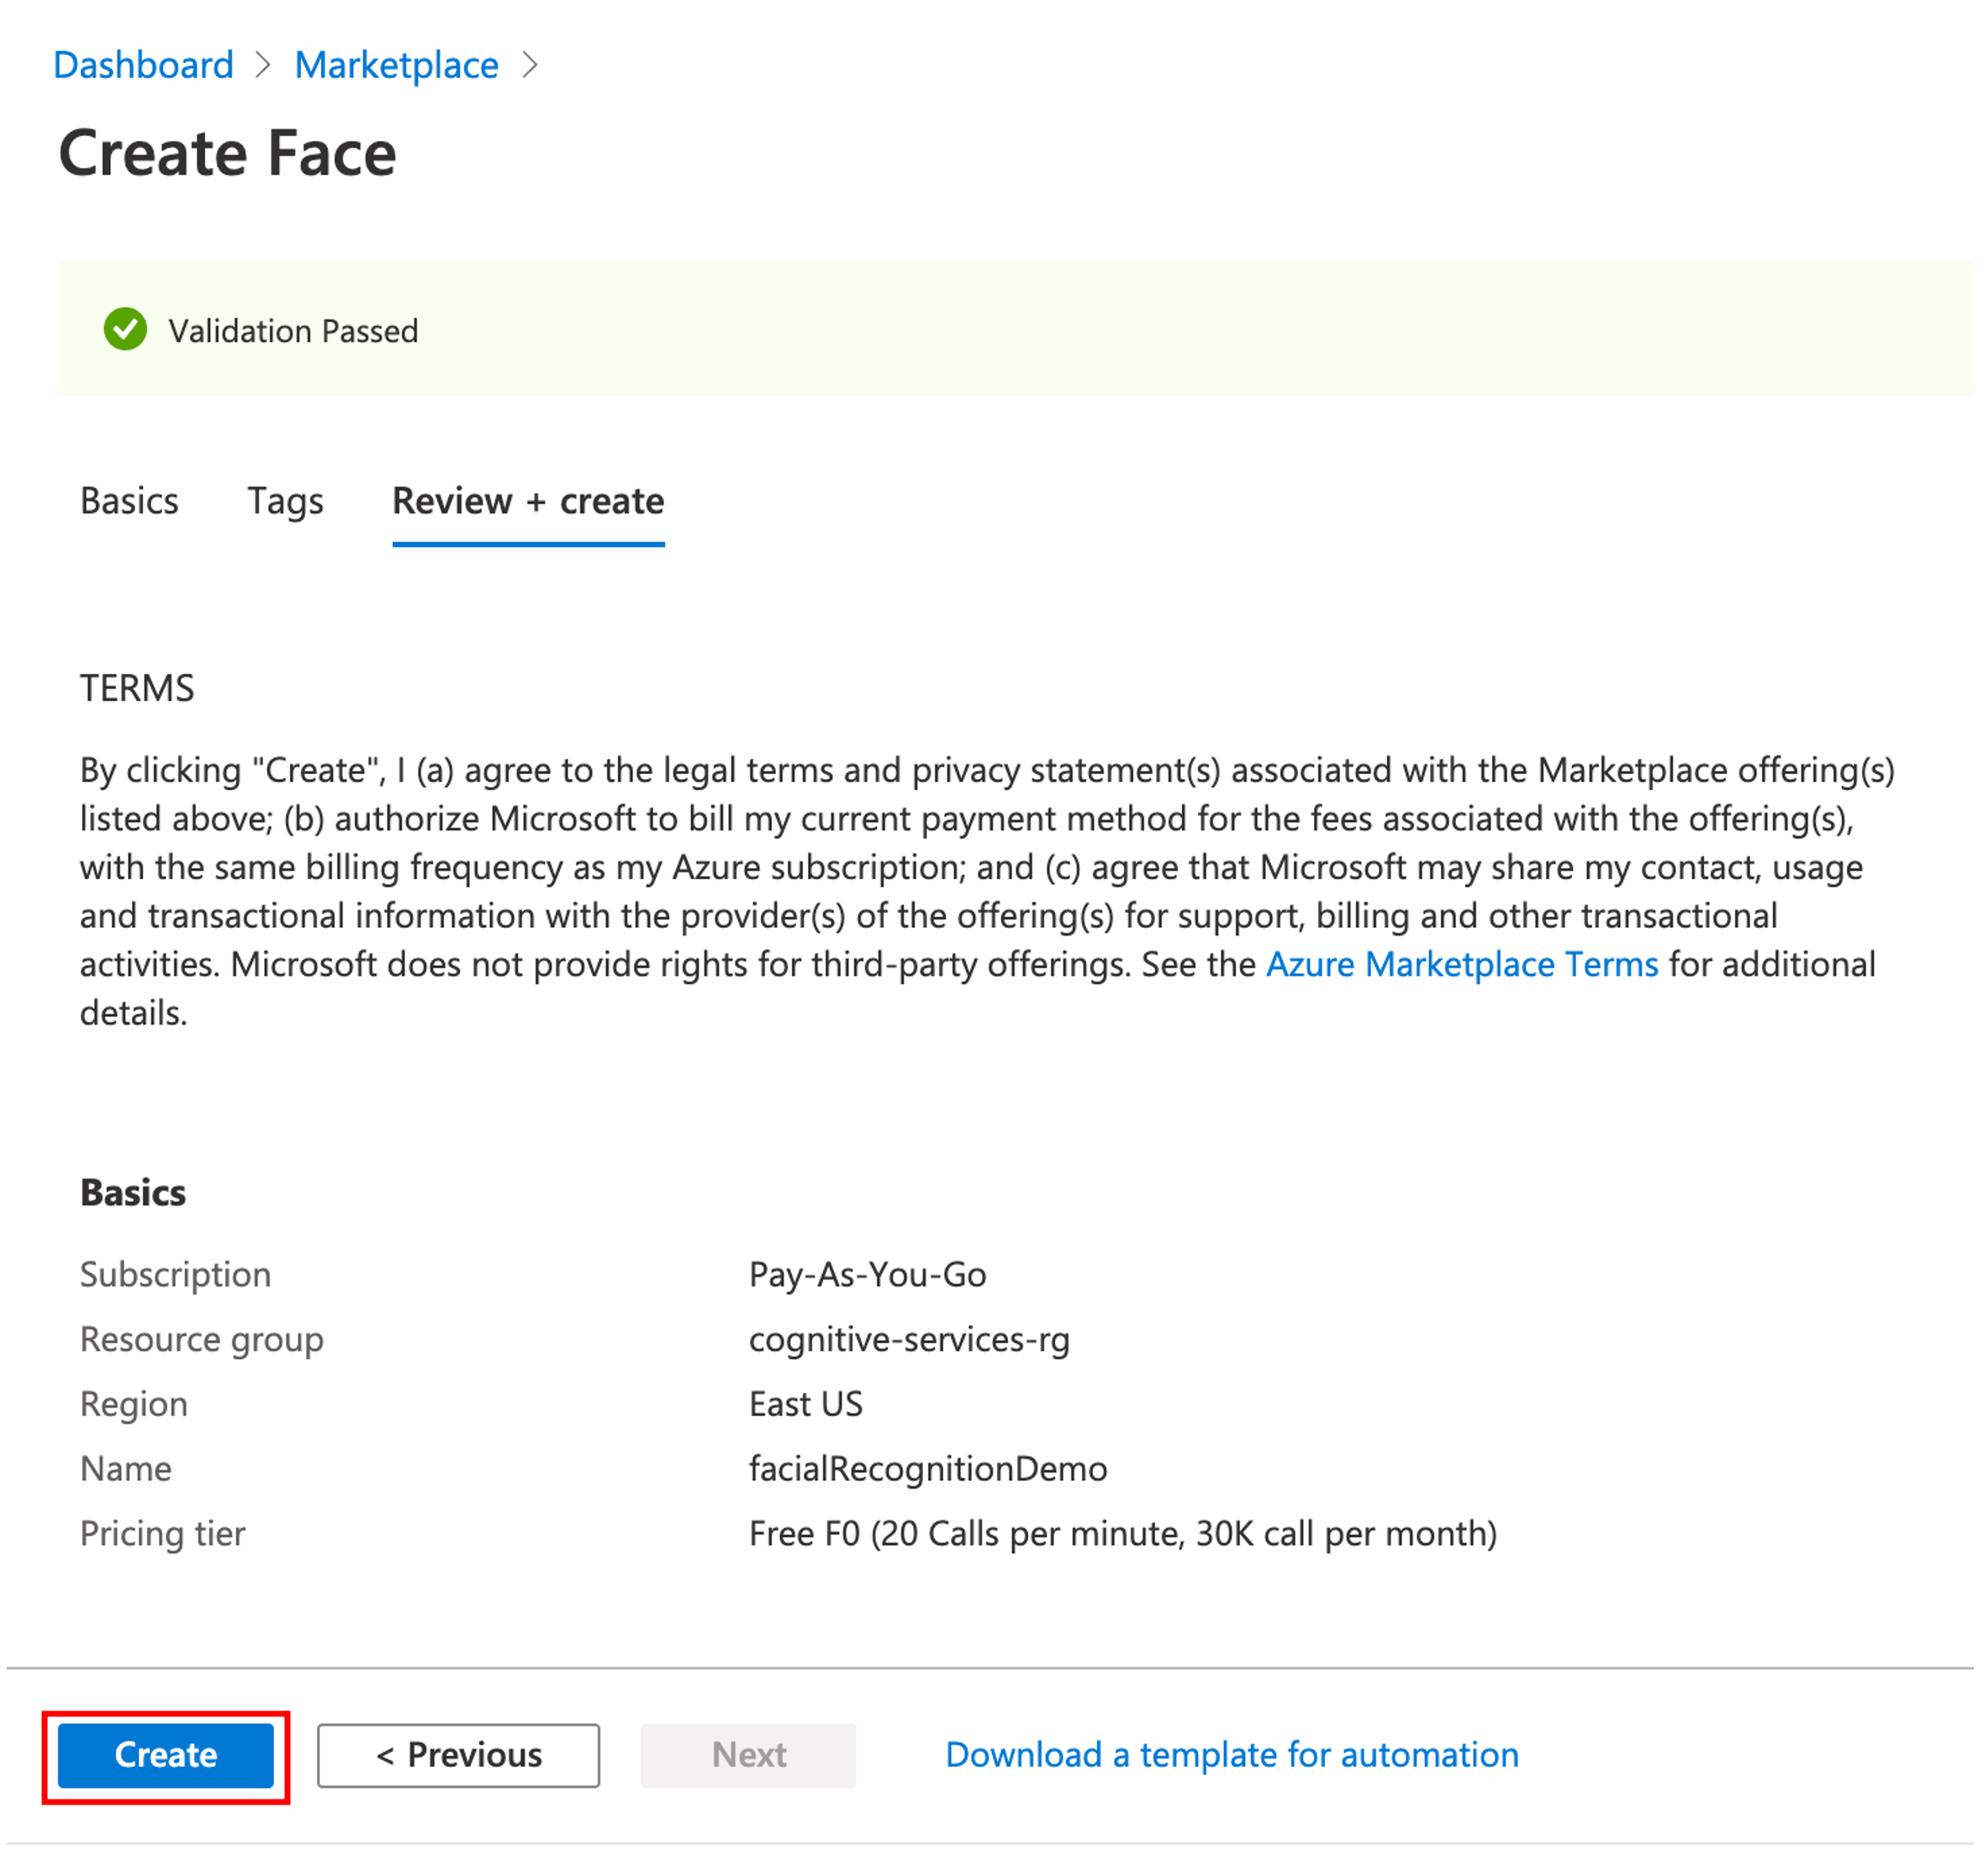
Click Review + create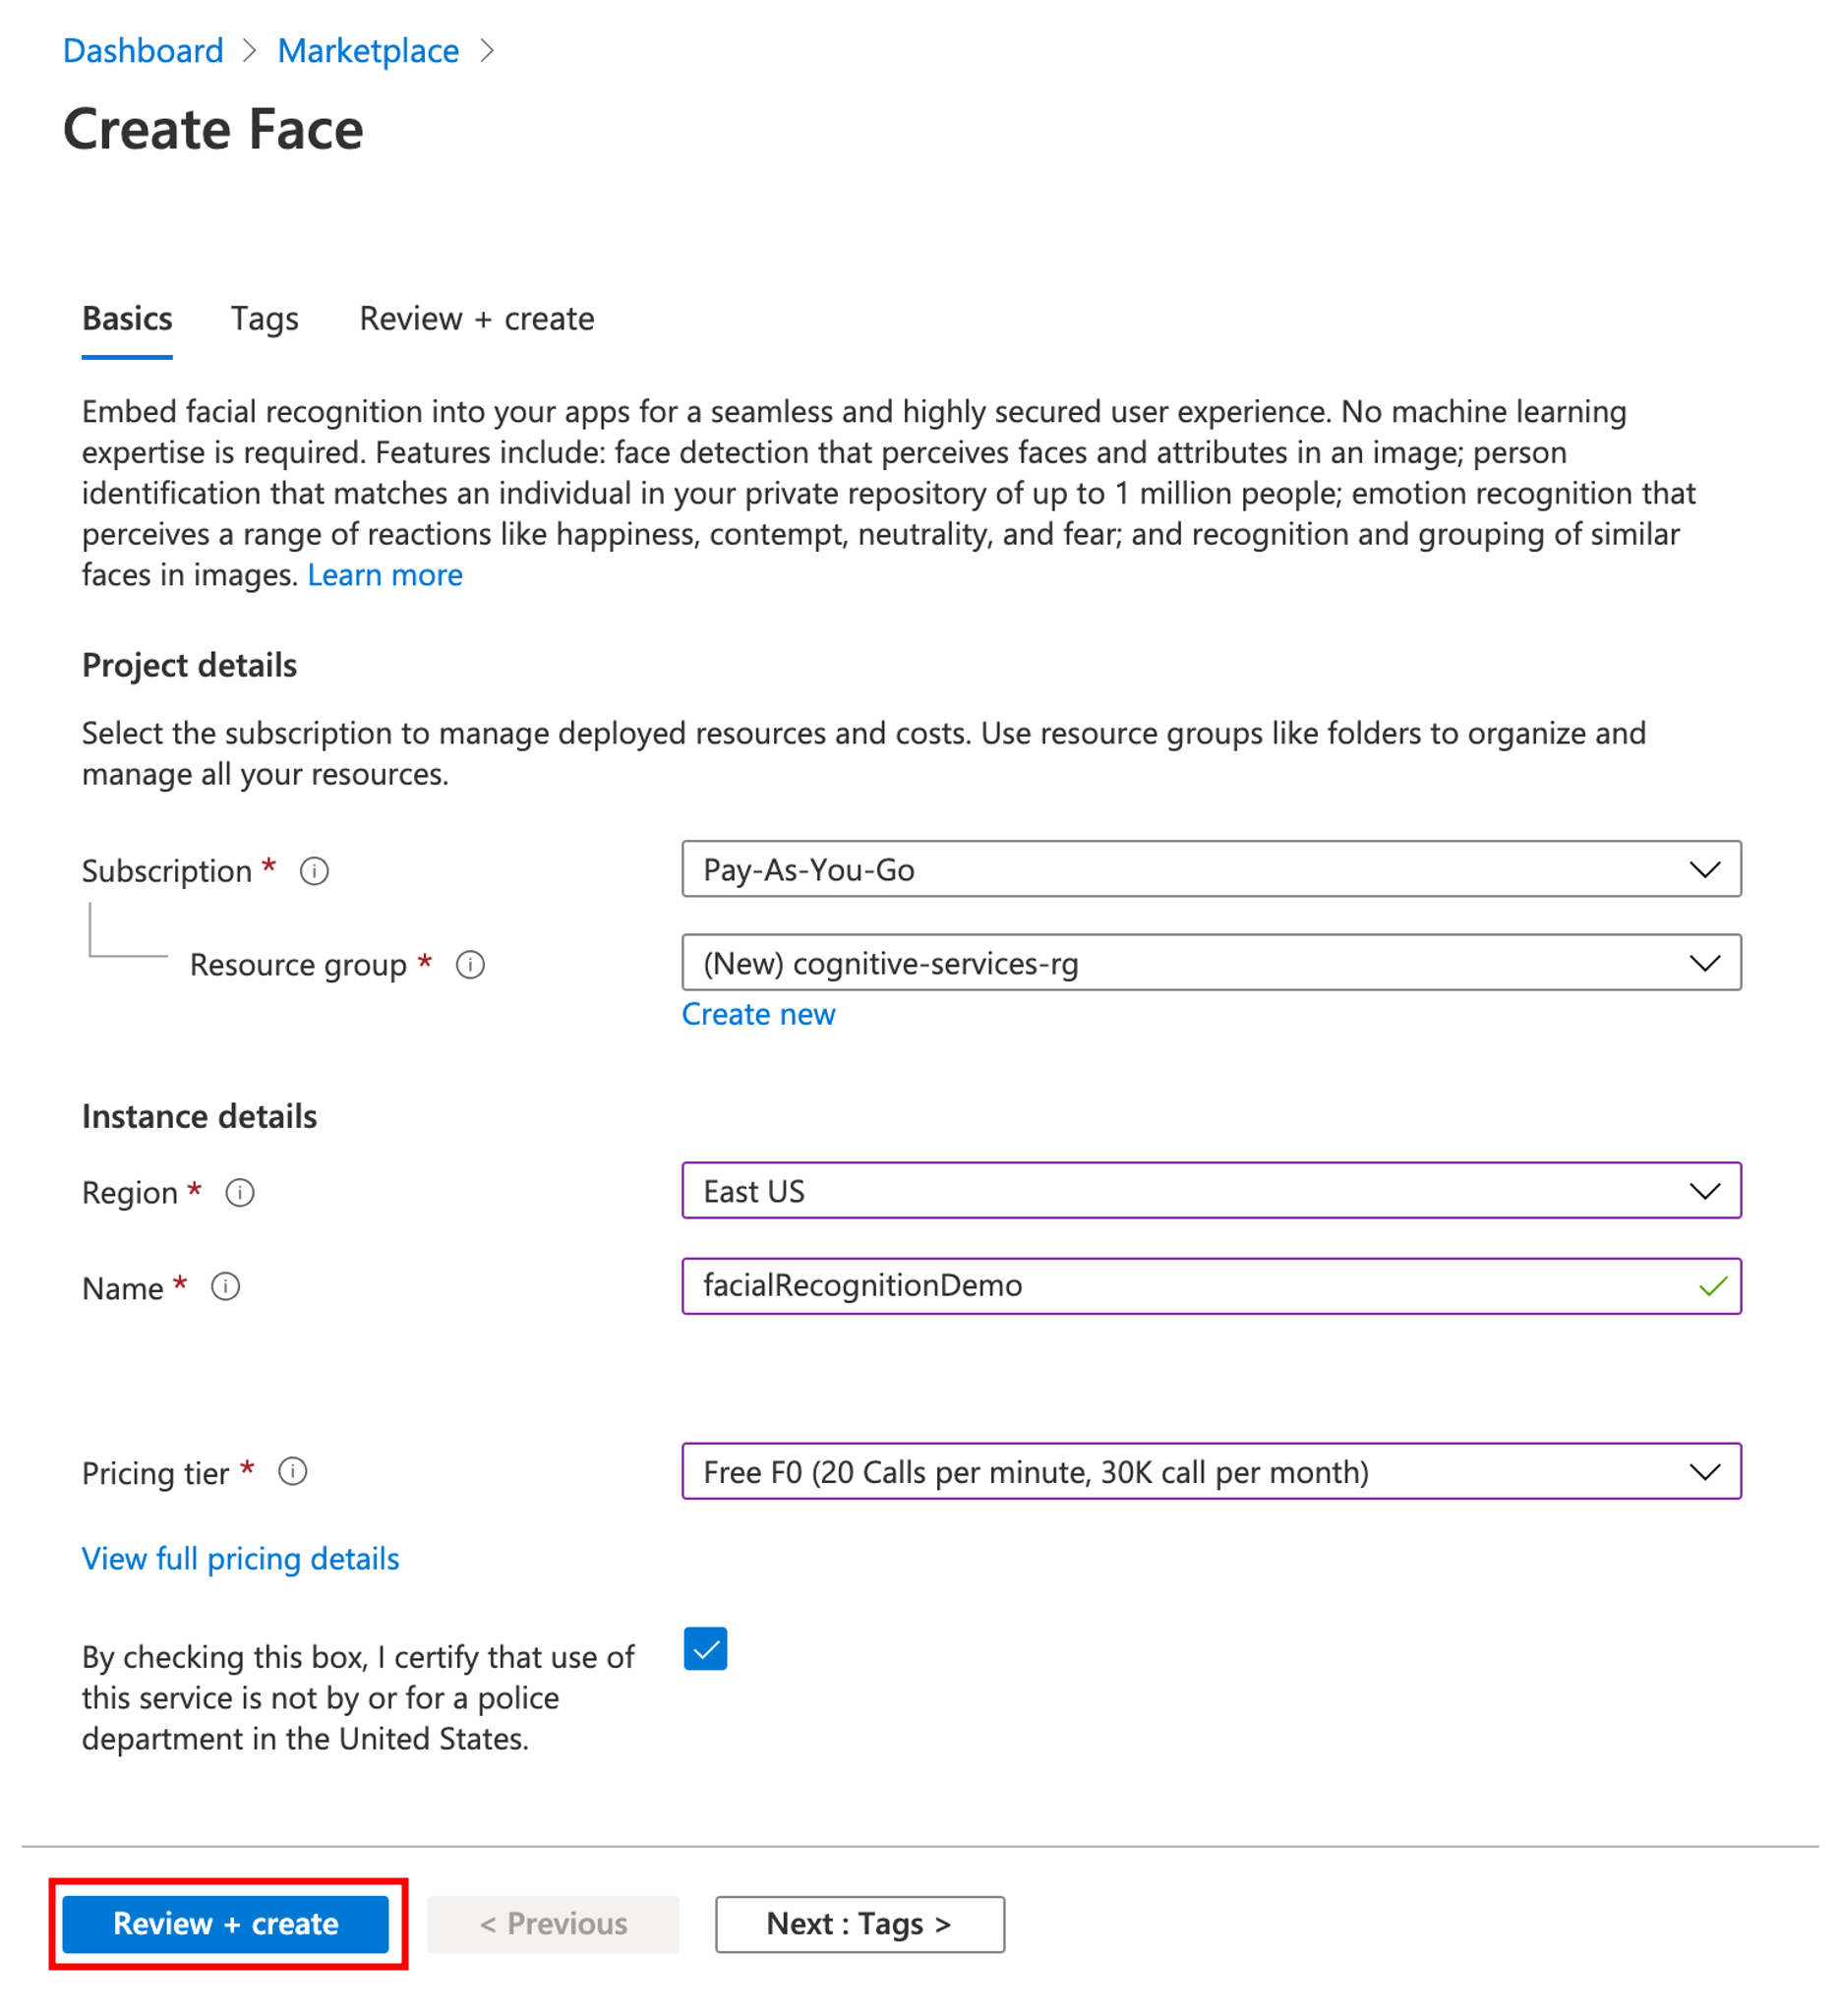
- Click Create
- Once the deployment is complete, click the Go to resource button.
Clone the sample application
- To get started, clone the sample application from my GitHub repository. You can find it here.
If you’ve never cloned a repository, check out the GitHub documentation for instructions. - Navigate to the directory where you cloned your application and open your IDE of choice. if you’re using VSCode, just type
code .to open VSCode. - In the
app.pyfile update the Key and Endpoint values on lines 12 and 15 from the Azure Cognitive Services resource you created in the previous section. These values can be found by clicking Keys and Endpoints.
- Browse to the Terminal menu and a select New Terminal.
- In the terminal window, type
run flask. This runs your application and starts your local server. You’ll receive the following output after this successfully completes.
- Hold down the control or command key and click
http://127.0.0.1:5000. This will launch your application. - Enter the URL of an image that contains a face (or faces) and click the submit button. For this example, I’ll use an image from a New York Times article about facial recognition.

URL: https://static01.nyt.com/images/2018/02/09/business/faces-promo-2/faces-promo-2-superJumbo.jpg - A new window will open and display the image with rectangles around the faces that are identified.

If you’re interested in learning more about the Vision API or other Azure Cognitive Services, check out the Microsoft Documentation for additional code samples and tutorials.
Summary
In this blog post we created a Face service resource in Azure and used a Python application to identify faces in images based on the image URL.
Thank you for reading!
