This blog post begins a new series on Google Cloud. In this series, we will start by setting up your Google Cloud account, creating a budget and configuring billing alerts, exploring the console and cloud shell and creating a new user. To help get you started, Google provides a $300 credit and up to 90 days to use it. This provides an opportunity to learn and explore their cloud services at no cost to you. Google also offers a free tier of services in addition to the $300 credit. You can learn more about those services here. Let’s get started by creating your Google Cloud account!
Prerequisites
- Computer with web browser installed
- Internet connection
- Valid credit card for verification
Create your Account
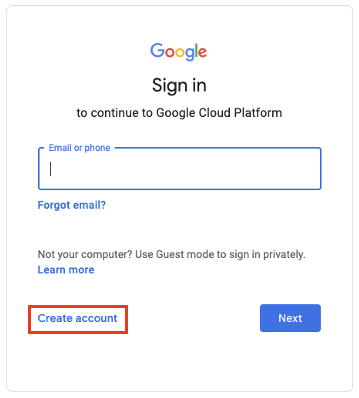
- Open a browser on your computer and browse to https://console.cloud.google.com/.
- Click the Create Account link on the Google Sign in page.
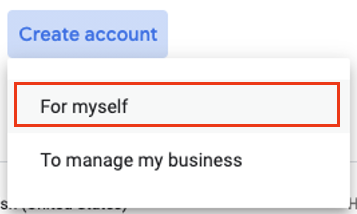
- For the purposes of this blog post, select For myself from the dropdown.
- Click Create a new Gmail address instead.
Note: Since this will be our administrative and billing account, we will want to ensure this account is unique and not the same account we will use for our normal activities in Google Cloud.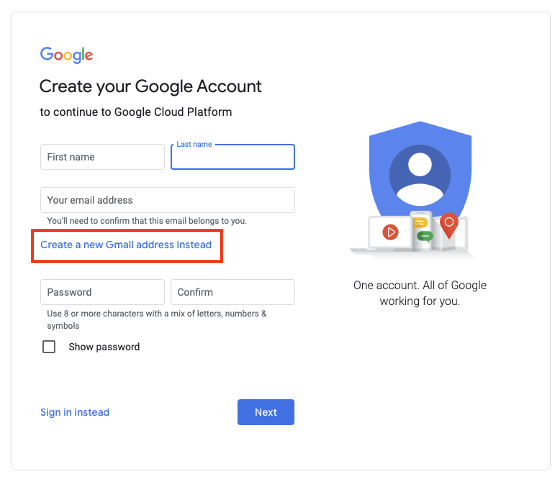
- Enter your First name, Last name and a unique Username and Password.
Confirm your password and click the Next button.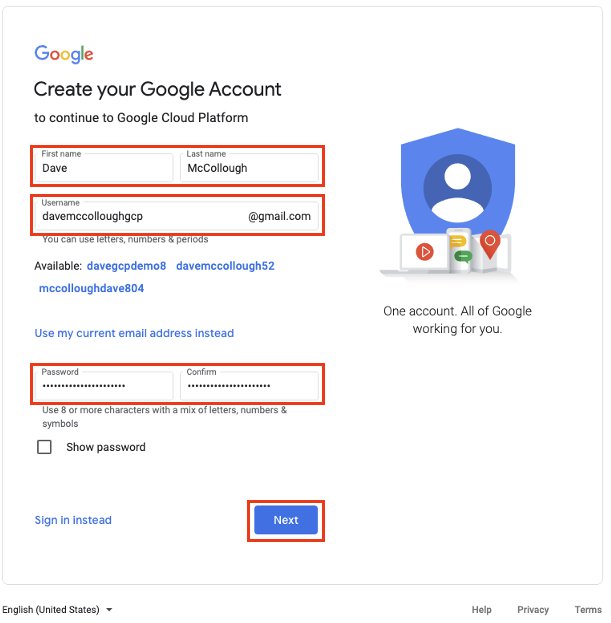
- Enter your Phone number, Recovery email address (both optional), Birthday (Month, Day, Year) and select Gender.
Click the Next button.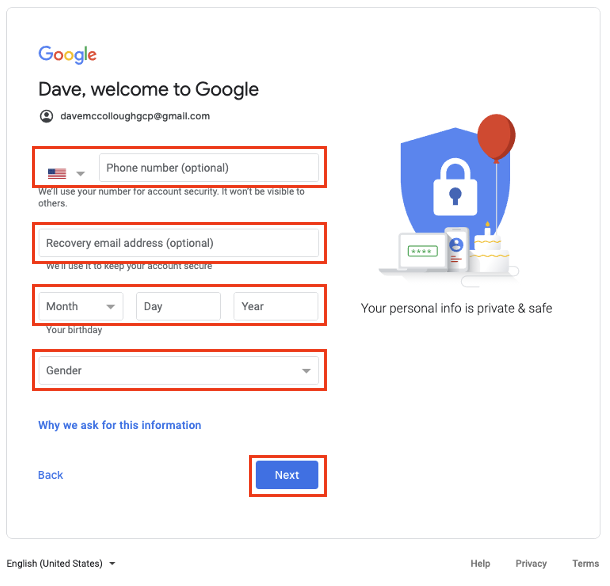
- If you entered your phone number in step 6, you will be required to verify your phone number.
Click the Send button.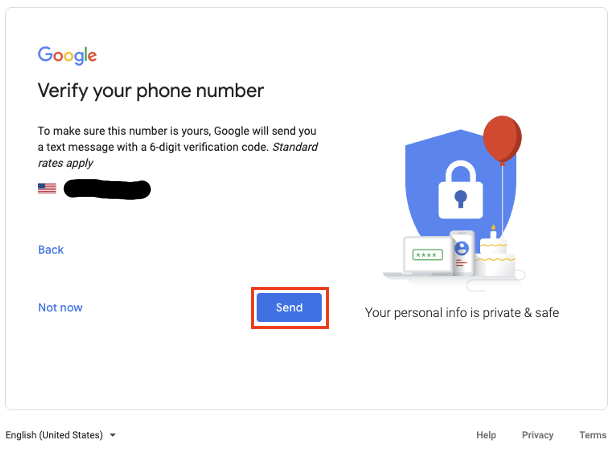
- Enter the six digit code code texted to your mobile device.
Click the Verify button.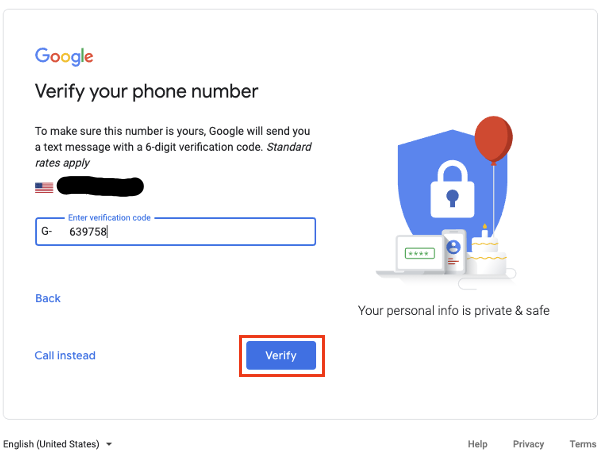
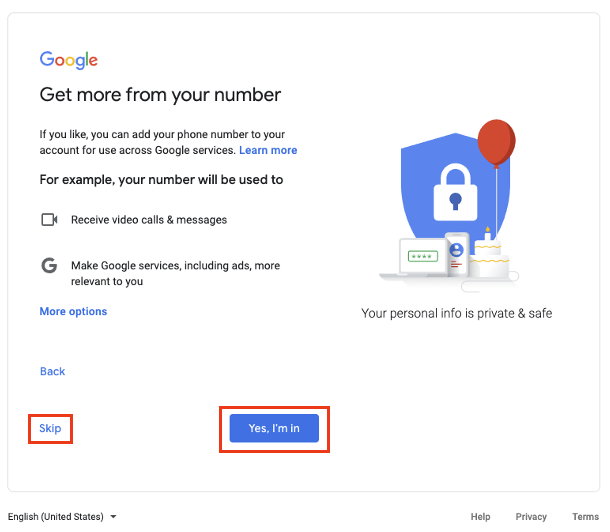
- Click Skip or Yes, I’m in based on sharing preferences.
- Review the Privacy and Terms.
Click the I agree button at the bottom of the page. - Click the checkbox under Terms of Service.
Click the CONTINUE button.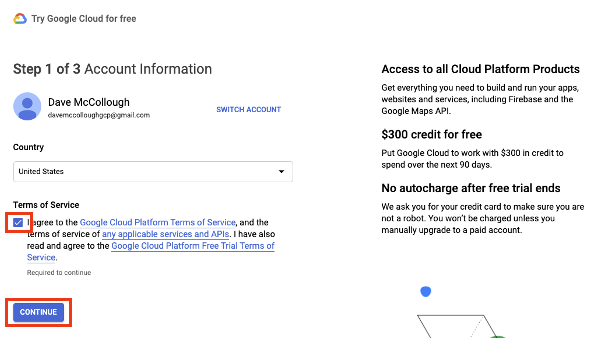
- Verify your contact information is correct.
Click the CONTINUE button.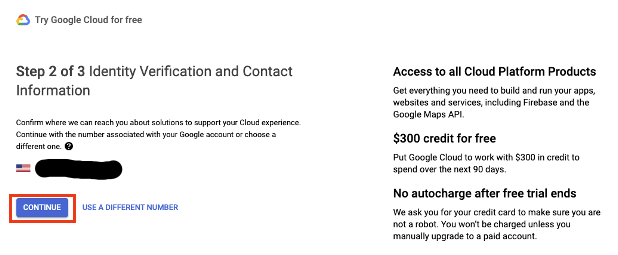
- Click the Pencil icon and select Individual account type, enter your Credit card information and Billing address.
Click the START MY FREE TRIAL button.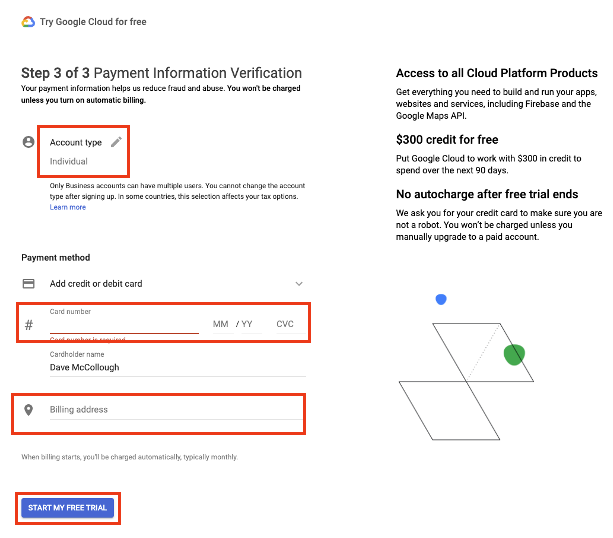
- Congratulations!! You’ve created your Google Cloud account!
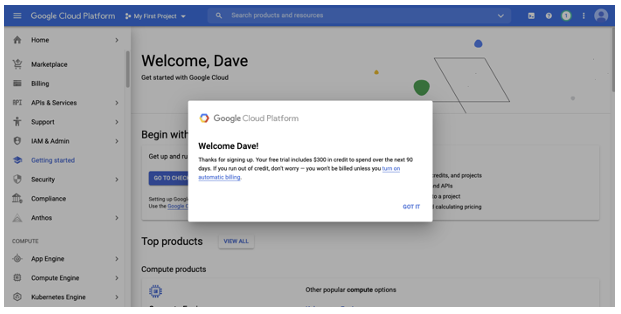
Note: Once your trial account expires, you will need to manually upgrade to a paying account before you will get charged.
Setting up your Account Budget and Configuring Billing Alerts
Now that you’ve setup your Google Cloud account, it’s important to setup a budget and create a billing alert. Setting a budget allows you to track your monthly spend against the budget. Budgets can be applied to either a billing account or a project and can be set to either a specific amount or to match a previous month’s spend. Alerts will notify you when your spend exceeds a certain percentage of your budget.
- If you’re not already logged into the Google Cloud console with your administrator account, you should do so now. You can log in at https://console.cloud.google.com/.
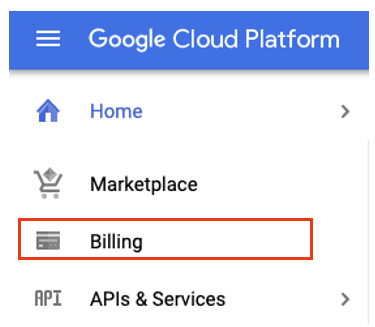
- Select Billing from the left-hand navigation menu.
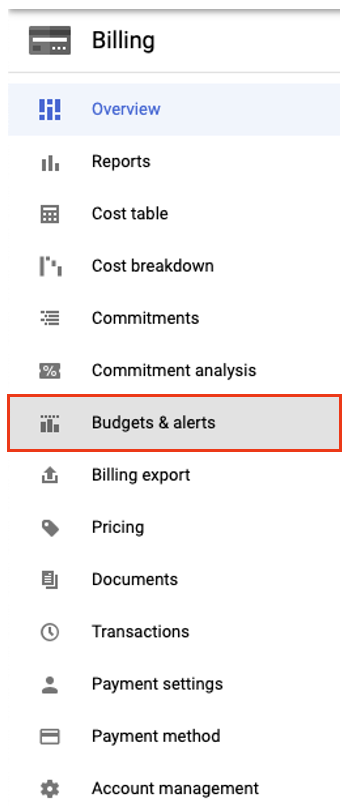
- Select Budgets and Alerts from the billing menu.
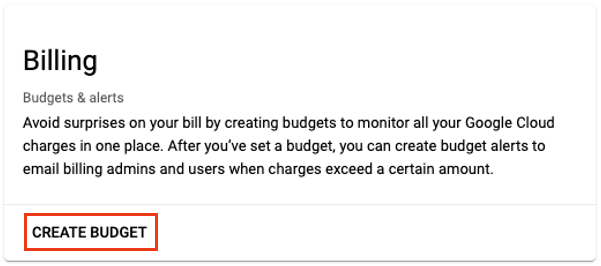
- Click CREATE BUDGET.
- In the Scope section, enter the Name of your budget, All projects should be selected in the Projects dropdown and All Services should be selected in the Services dropdown.
Click the Next button.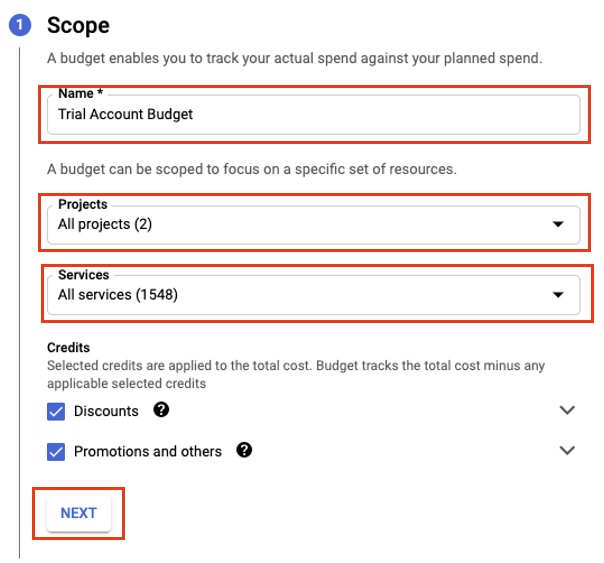
- Now that you’ve created your budget, let’s set the budget amount and enable the budget alerts.
Click the linked budget you created in step 5.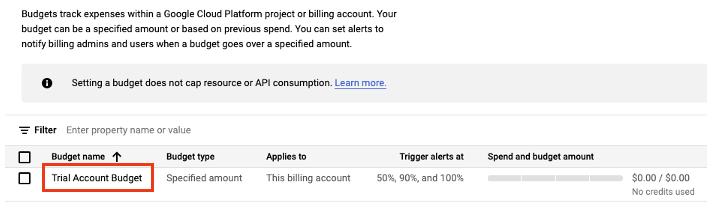
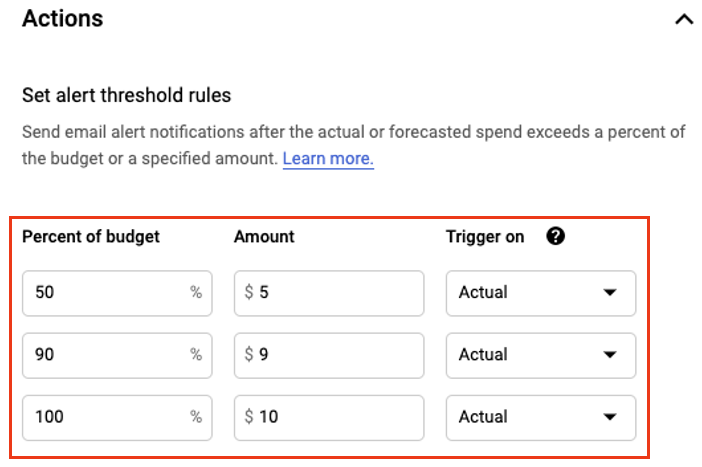
- In the Amount section, select Specified amount from the Budget type dropdown and enter the dollar amount you want to set as your Target amount.

- In the Actions section review the alert threshold amounts. These threshold amounts will determine when you will receive an email notification.
- In the Manage notifications section, make sure Email alerts to billing admins and users is checked to ensure you receive the billing alert notification emails.
Click Save.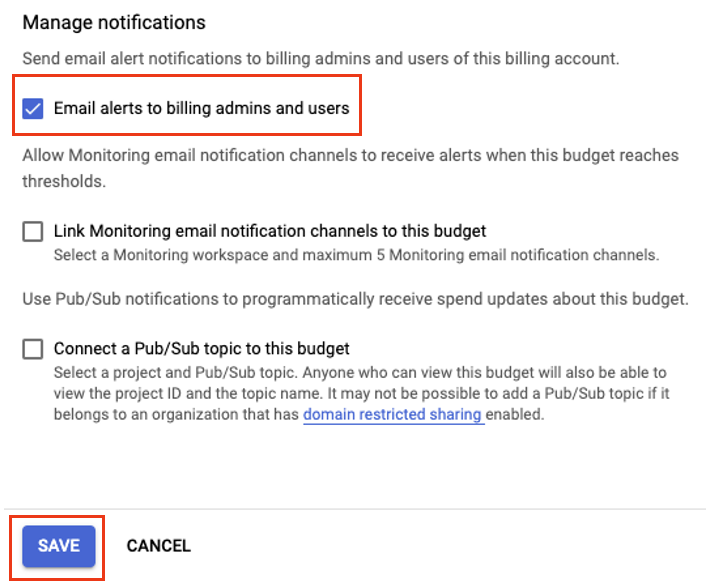
- Your budget and billing alerts are now created and you’re ready to explore the dashboard!
Dashboard Overview
The Dashboard provides the foundation of the Google Cloud web experience and is the primary landing zone when you login to the console.
- If you’re not already logged into the Google Cloud console. You can login at https://console.cloud.google.com/
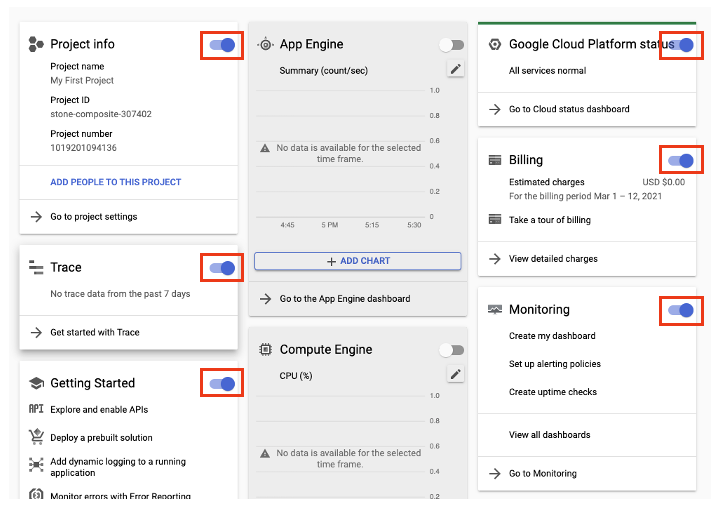
- The dashboard provides several customizable widgets that provide you with data related to both the selected project and Google Cloud. Additionally, Links to Google Cloud documentation are also available on the dashboard.

- To customize your dashboard, click the Customize button in the top right corner of the screen.

- You can remove items from the dashboard by clicking the Toggle icon.
- To further customize your Google Cloud dashboard, you can move the dashboard tiles by clicking the top of the dashboard tile you want to move and dragging it to your desired location
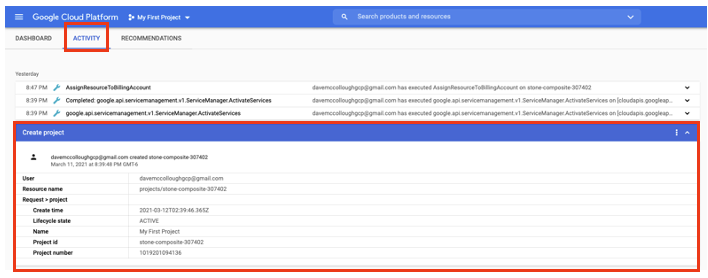
- Clicking the Activity tab will provide you a log of all activities within the selected project

- You can expand the detail of each item in the activity log by clicking on the item
- If you want to know the status of your free trial, you can find this information by clicking the Free trial status icon


Be sure you click the Dismiss button when you are done. Clicking the Activate button will upgrade your free trial account to a paying account.
Google Cloud Shell Overview
Google Cloud Shell provides you with command-line access to computing resources hosted on Google Cloud. You can also use the Cloud Shell Editor to develop, build, debug, and deploy your cloud-based apps. Let’s explore:
- If you’re not already logged into the Google Cloud console. You can login at https://console.cloud.google.com/
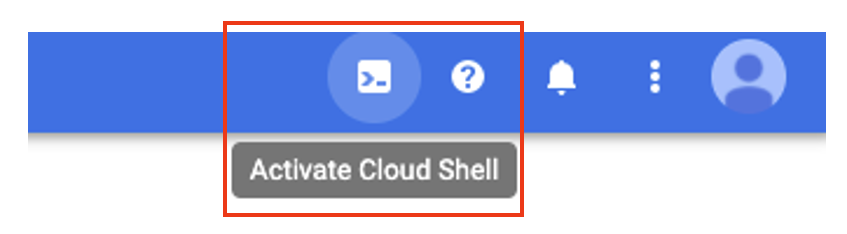
- Click the Cloud Shell icon in the top right corner of the screen
- The Cloud Shell is a Debian-based virtual machine with a 5GB home directory directory that persists across all your sessions.

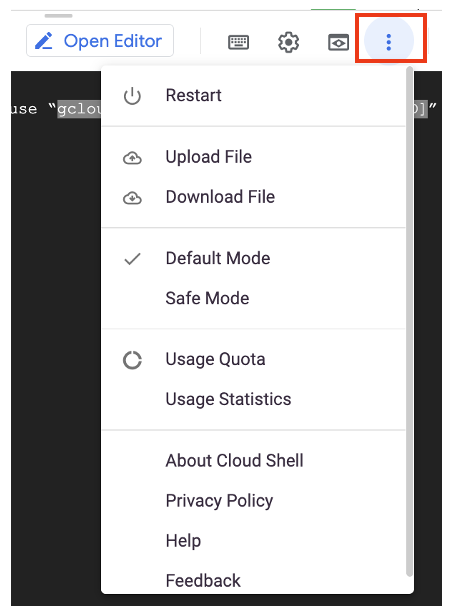
- To access additional features, such as uploading/downloading files, etc. click the vertical ellipses
- Returning to the command prompt, type
ls(This command displays a list of the contents of current directory) - Within the current directory will be a
README-cloudshell.txtfile. To view the file contents typecat README-cloudshell.txt(Thecatcommand is an extremely versatile Linux command, It allows users to create, view, and concatenate files) - This file contains information about the Google Cloud Shell. A couple items of note:
The VM your shell is running in is ephemeral, so it will be reset after your session ends and any unsaved data will be lost
To access this file anytime, typehelpat the command prompt - In future blog posts, we’ll be spending more time in the Cloud Shell, but if you’re interested in learning more, check out the Google Documentation.
Create your First User
Now that you have the budget and billing alerts configured and explored the dashboard and cloud shell, let’s setup a new user so you don’t continue accessing Google Cloud with your administrative user.
- Create a new, or use an existing Gmail account. You can find instructions on how to complete this in the Google documentation.
- If you’re not already logged into the Google Cloud console with your administrator account, you should do so now. You can log at https://console.cloud.google.com/.
- Select Billing from the left hand navigation menu
- Select your billing account from the list
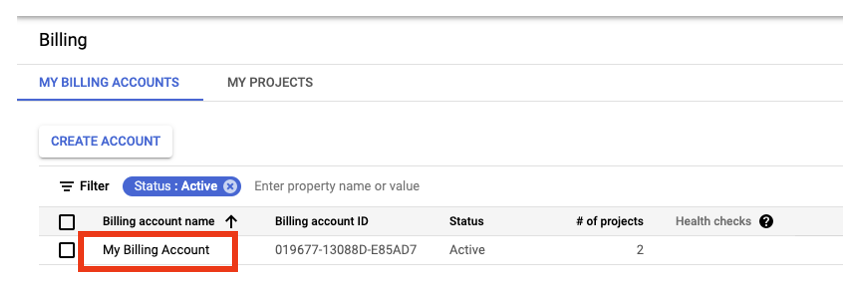
- Click the Manage link
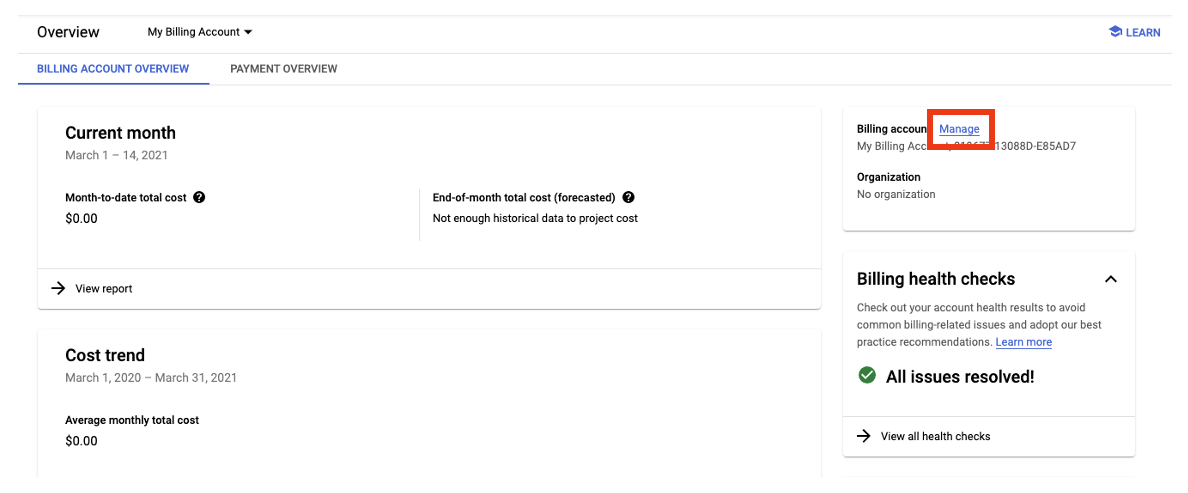
- Click the Add Member button in the My Billing Account section

- On the add members to your billing account screen, fill out/select the following fields:
In the New members text box enter your new Gmail address from step 1
In the Role dropdown, select Billing Account Administrator (this is still a highly permissive role, but it does prevent the logged in user from accidentally upgrading their account to a paying account).
Click the Save button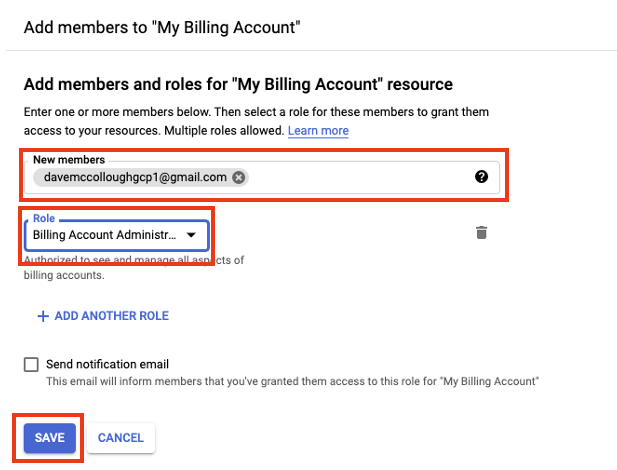
- Your new user has now added to your Google Cloud account and you can begin using it to login to your Google Cloud account.
Summary
In this blog post you created your Google Cloud account, set your budget and billing alerts, navigated the dashboard and cloud shell and created a new user. In future posts we’ll continue to look at the features and service in Google Cloud and some examples and guides on how to use them.
Thank you for reading!
