Azure IoT Hub provides a cloud-hosted back-end that allows you to connect virtually any device. Azure IoT hub lets you configure per-device authentication, built-in device management, and scaled provisioning.
In this blog post we are going to configure and connect an Azure IoT device simulator to Azure IoT hub.
Prerequisites
Create your Azure IoT Hub using the Azure Portal
If you prefer to use the Azure CLI, click here.
- Login into the Azure Portal.
- Search for and select IoT Hub.
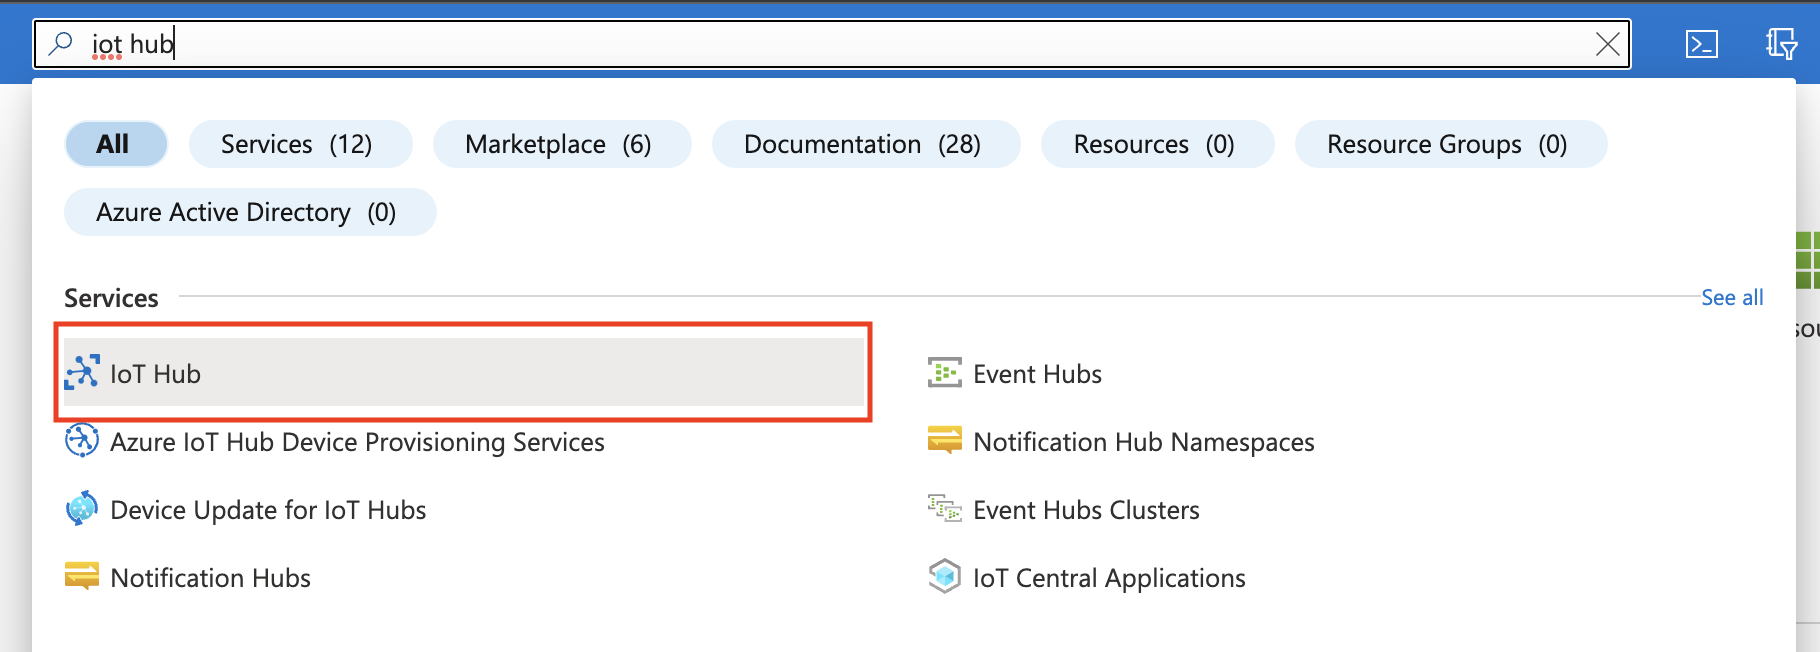
- Click the + Create button.

- Fill out the following fields on the Basics tab:
Project Details:
– Select a subscription.
– Create a new, or use an existing resource group.
Instance Details
– Enter the IoT Hub Name.
– Select a region.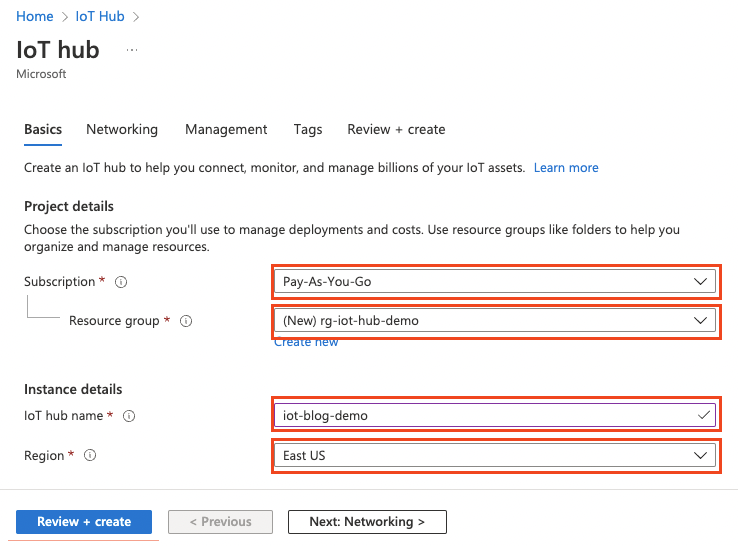
- Select the Management tab.
Scale tier and units
– Select F1: Free Tier from the Pricing and scale tier dropdown.
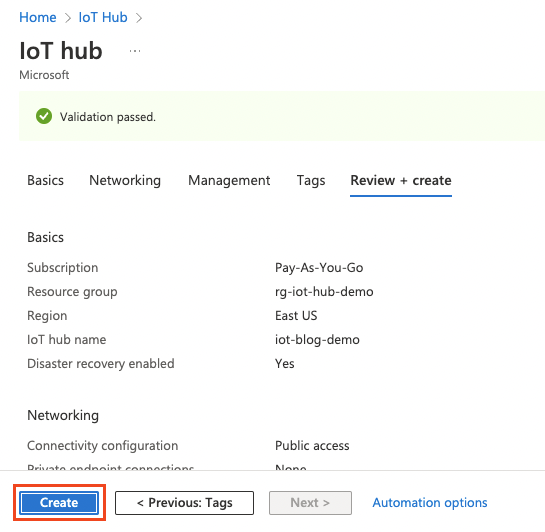
– Click the Review + create button.
- Click the Create button.
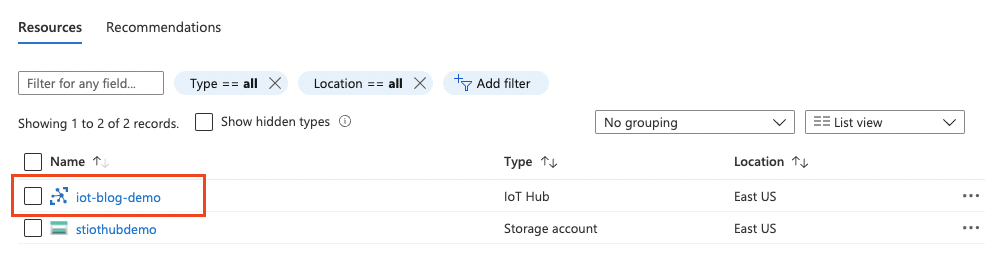
- Click the Go to resource button.
Create your Azure IoT Hub Using Azure CLI
- Open Azure Cloud Shell and select Bash from the dropdown.
- Your IoT needs to be contained in a resource group. You can either use an existing resource group or create a new one with the following command to create your resource group in East US:
az group create --name {your resource group name} --location eastus - Run the following command to create your IoT Hub in the F1 pricing tier:
az iot hub create --name {your iot hub name} \--resource-group {your resource group name} --sku F1
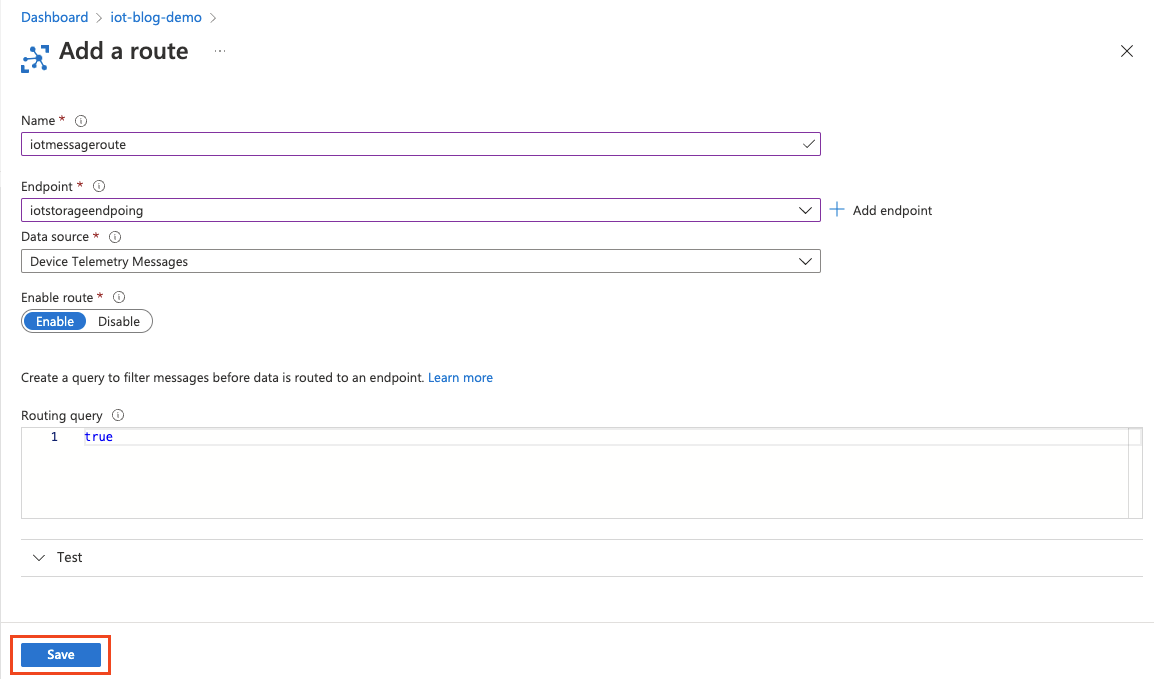
Create your IoT Hub Message Routing
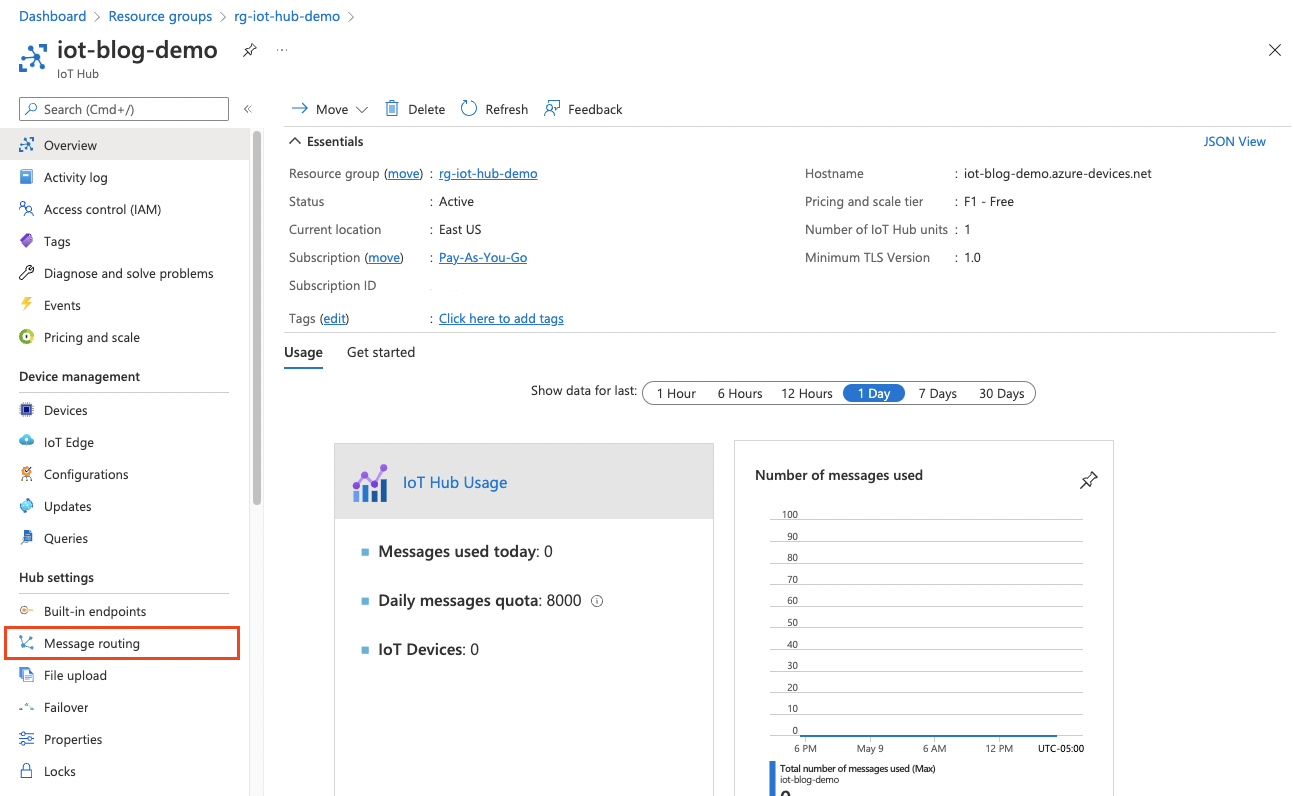
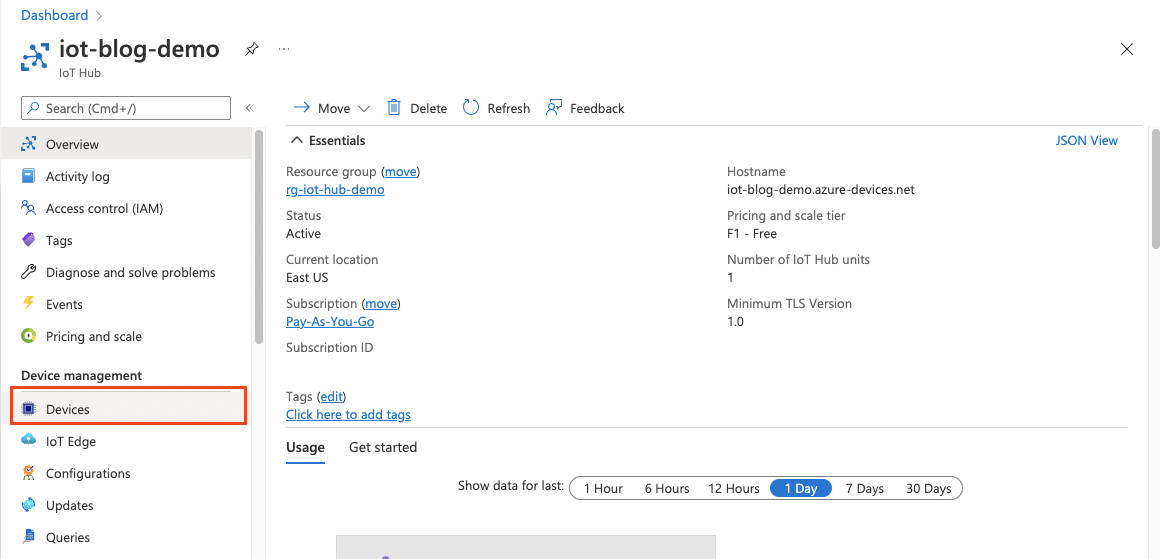
- Click on your IoT Hub Resource.
- Click Message Routing in the IoT Hub resource listview located under Hub Settings.
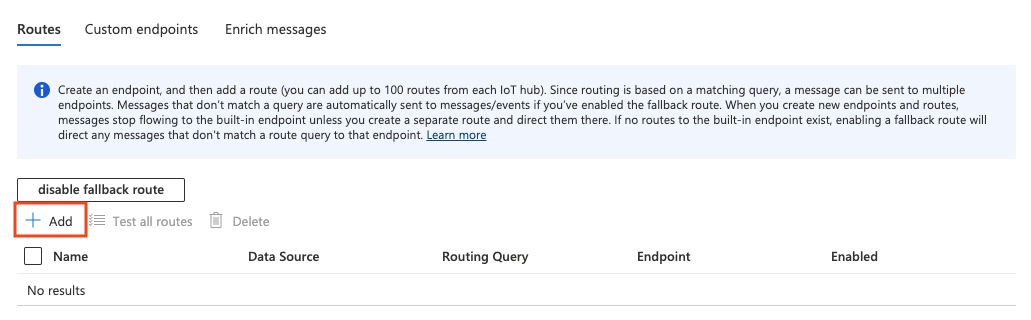
- Click + Add
- Enter a name for your Message Route.
– Click + Add Endpoint and select Storage.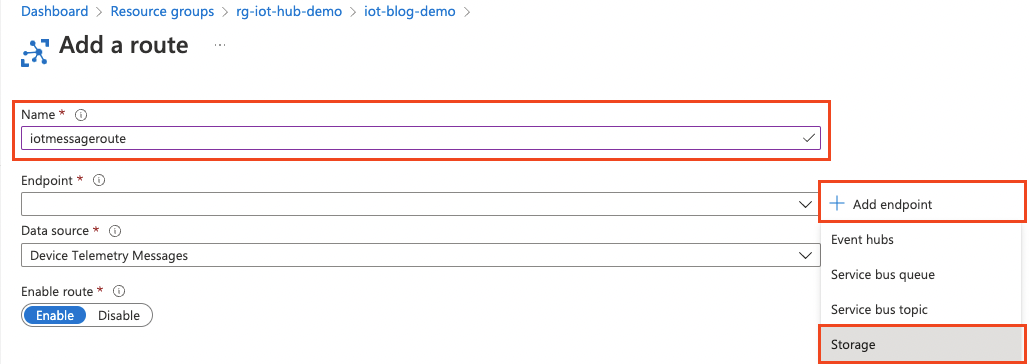
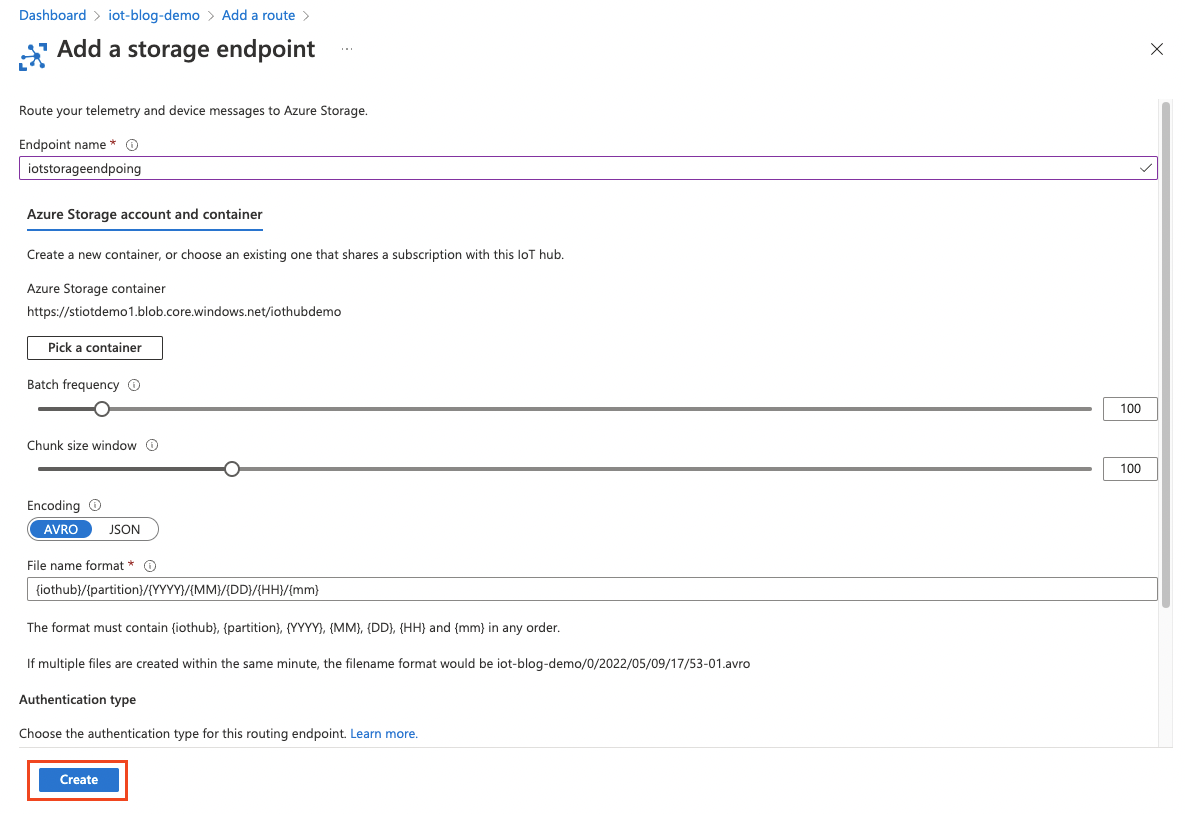
- Enter a name for your storage endpoint.
– Click the Pick a container button.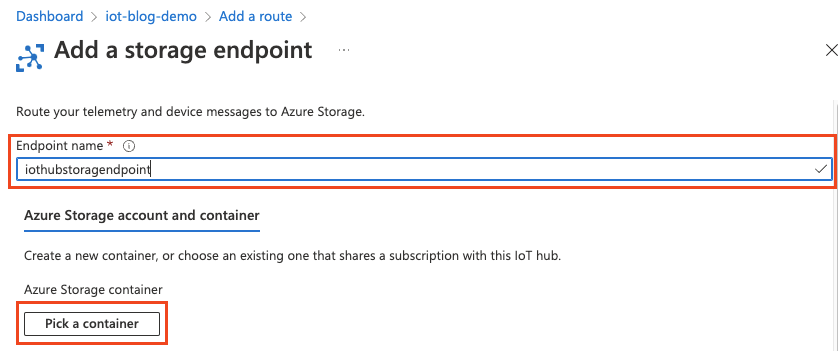
- Click + Storage Account.

- Enter your storage account name.
– Click OK.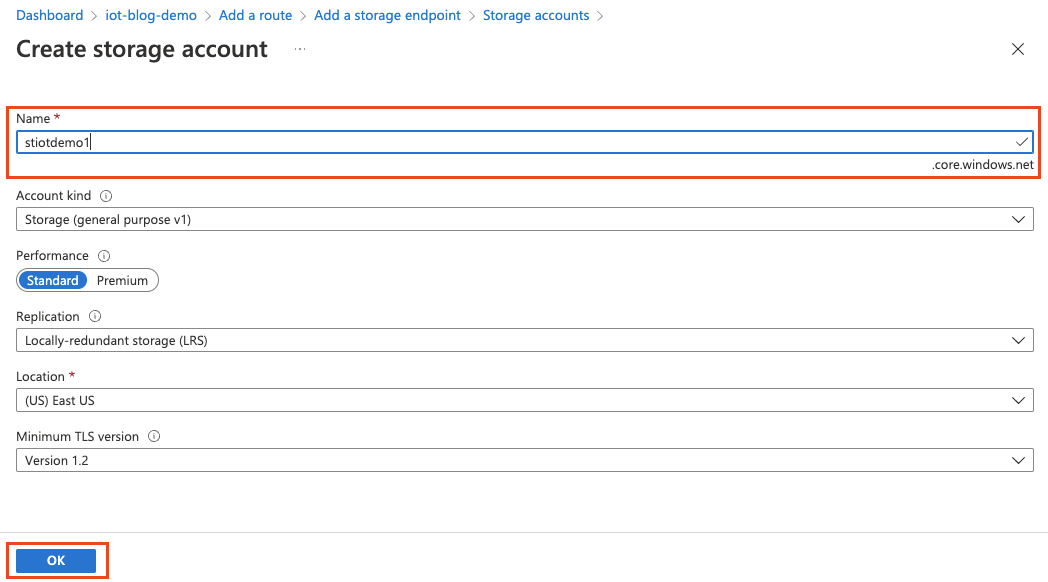
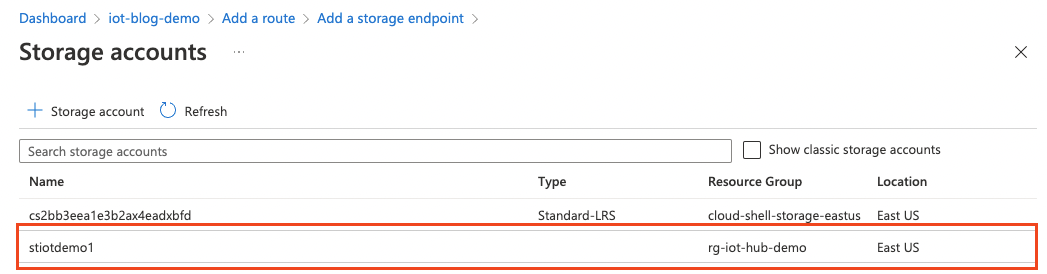
- Click the storage account you created in the last step.
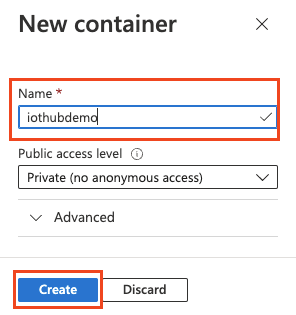
- Click + Container to create a new container.

- Enter a name for Container and click Create.
- Select the container you created in the previous step and click the Select button.

- Click the Create button.
- Click Save
Create your IoT Device
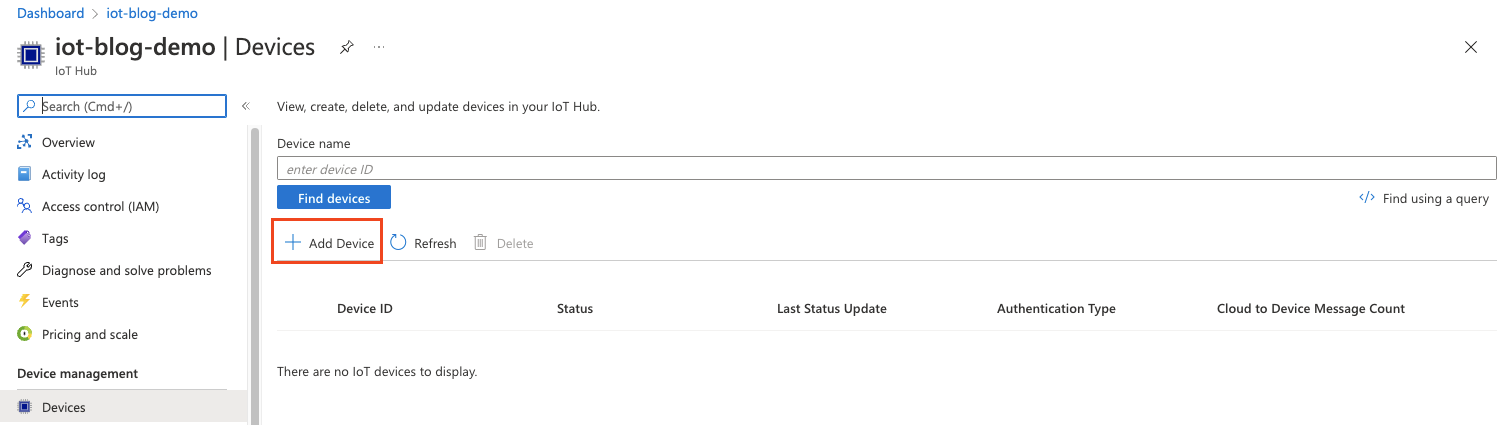
- Click Devices in the IoT Hub resource listview located under Device Management.
- Click Add Device.
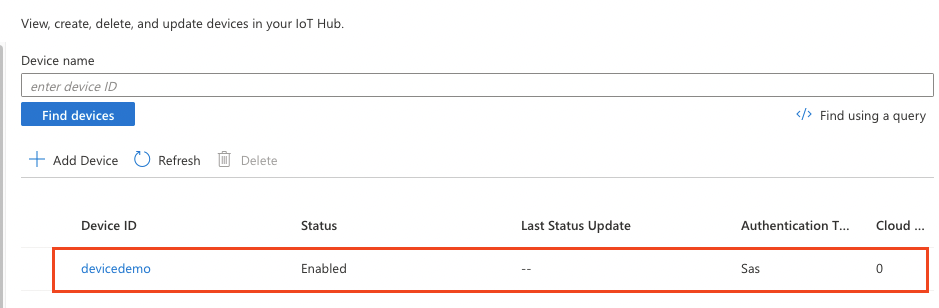
- Enter a Device ID and click the Save button.

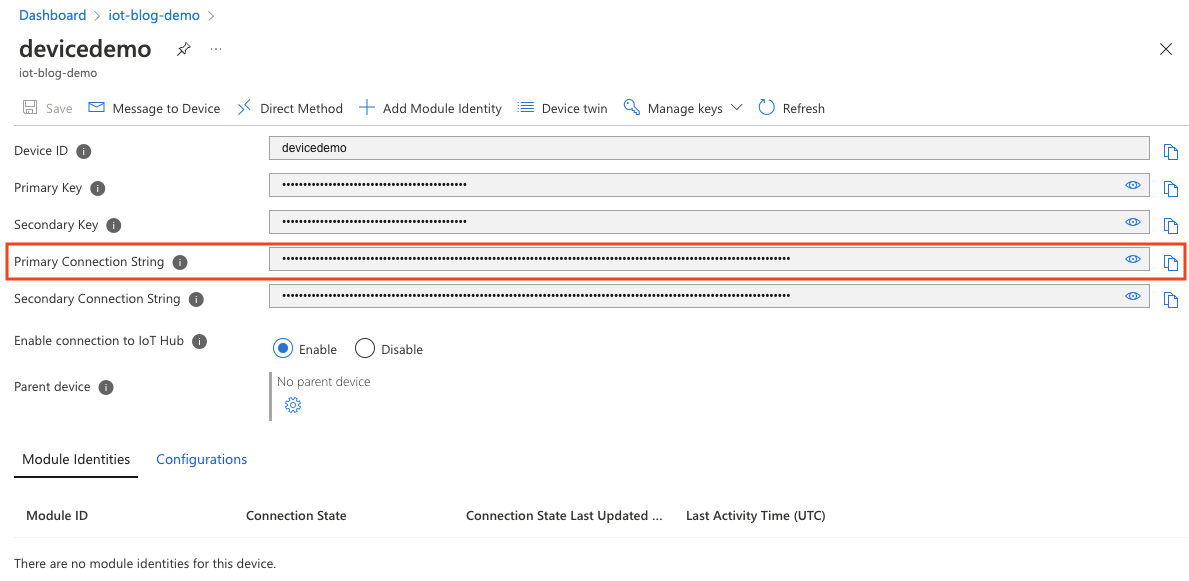
- Click the device created in the previous step.
- Copy the Primary Connection String.
- Click the following link to launch the Raspberry Pi Simulator.
- In the code pane, find the following line:
const connectionString = '[Your IoT hub device connection string]';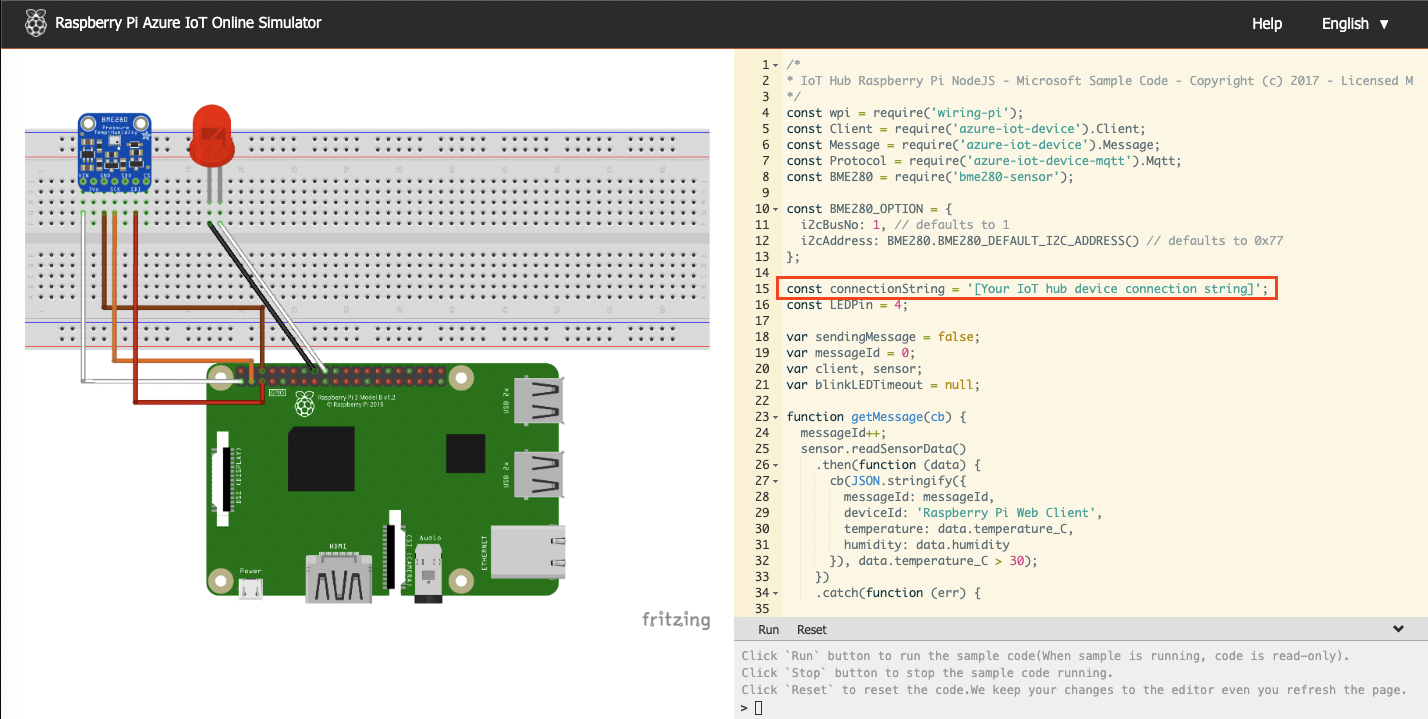
- Paste the Primary Connection String you copied in step 5 in the
'[Your IoT hub device connection string]'placeholder ensuring it is wrapped in single quotes. - Click Run.

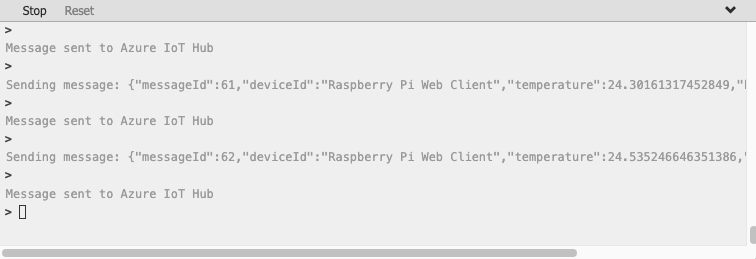
- The device will begin sending telemetry to Azure IoT Hub.
- Navigate back to your IoT Hub in the Azure Portal.
- The metrics on the Overview blade should reflect the number of messages you sent from the Raspberry Pi simulator.

Summary
In this blog post we created an Azure IoT Hub, connected it to the Raspberry PI simulator and sent messages from the Raspberry Pi back to your Azure IoT hub.
Thank you for reading!
