AWS CodeWhisperer is Amazon’s machine learning-powered code generation tool that provides you with real-time code recommendations. CodeWhisperer will automatically generate suggestions based on your existing code and comments.
In this blog post we are going to configure AWS CodeWhisperer with Visual Studio Code.
Prerequisites
Install the AWS Toolkit Extension
- Search for the AWS Toolkit extension in Visual Studio Code.

- Click the Install button.
- Click the CodeWhisperer: AI powered code suggestions button.

- Click the Sign up or Sign in button to login with, or create, your AWS Builder ID.

- Click the Copy Code and Proceed button.
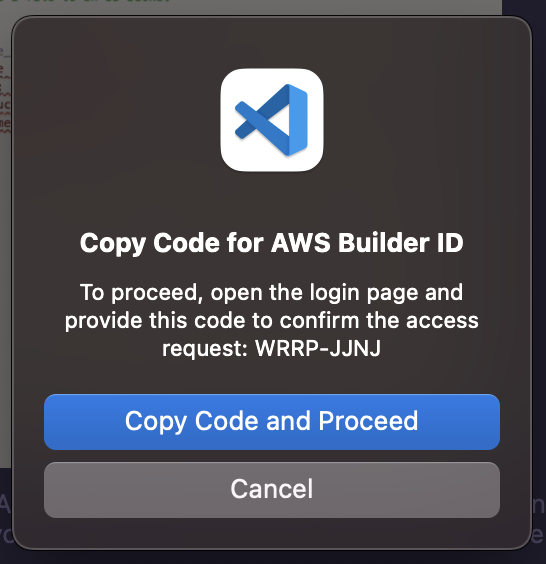
- Paste the code to authorize your request and click the Next button.

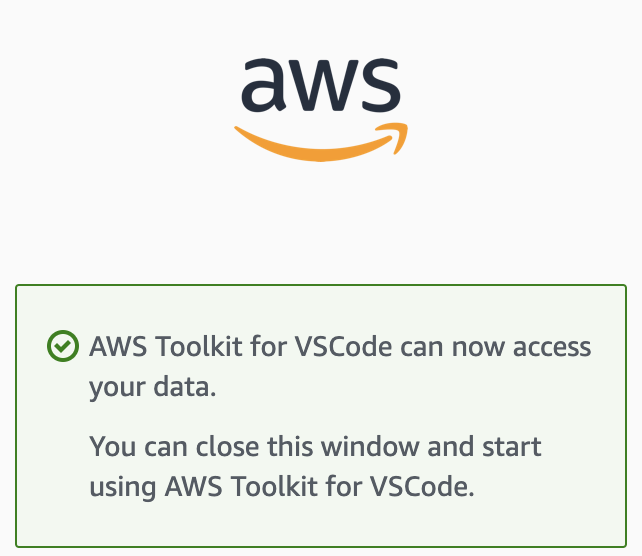
- Click Allow.

- You’ve successfully connected Visual Studio Code to the AWS CodeWhisperer service.
Testing CodeWhisperer
- Open or create a new file in your language of choice. For this example we will use JavaScript.
- Write a comment similar to the one below:
//write a function that multiplies two numbers and returns the result - CodeWhisperer will provide you suggestions on how to write the function. You can accept the suggestion by pressing the Tab key.

- AWS also provides code examples to help you get started. You can find them here.
Summary
In this blog post we configured and tested AWS CodeWhisperer with Visual Studio Code.
Thank you for reading!
